
Push notifications are one of the most effective ways to keep users engaged by delivering timely updates directly to their devices. On the web, browser push notifications allow applications to send messages even when the user is not actively visiting the website.
In this article, we’ll explore how browser push notifications work and how to implement them in React.js and Next.js applications.
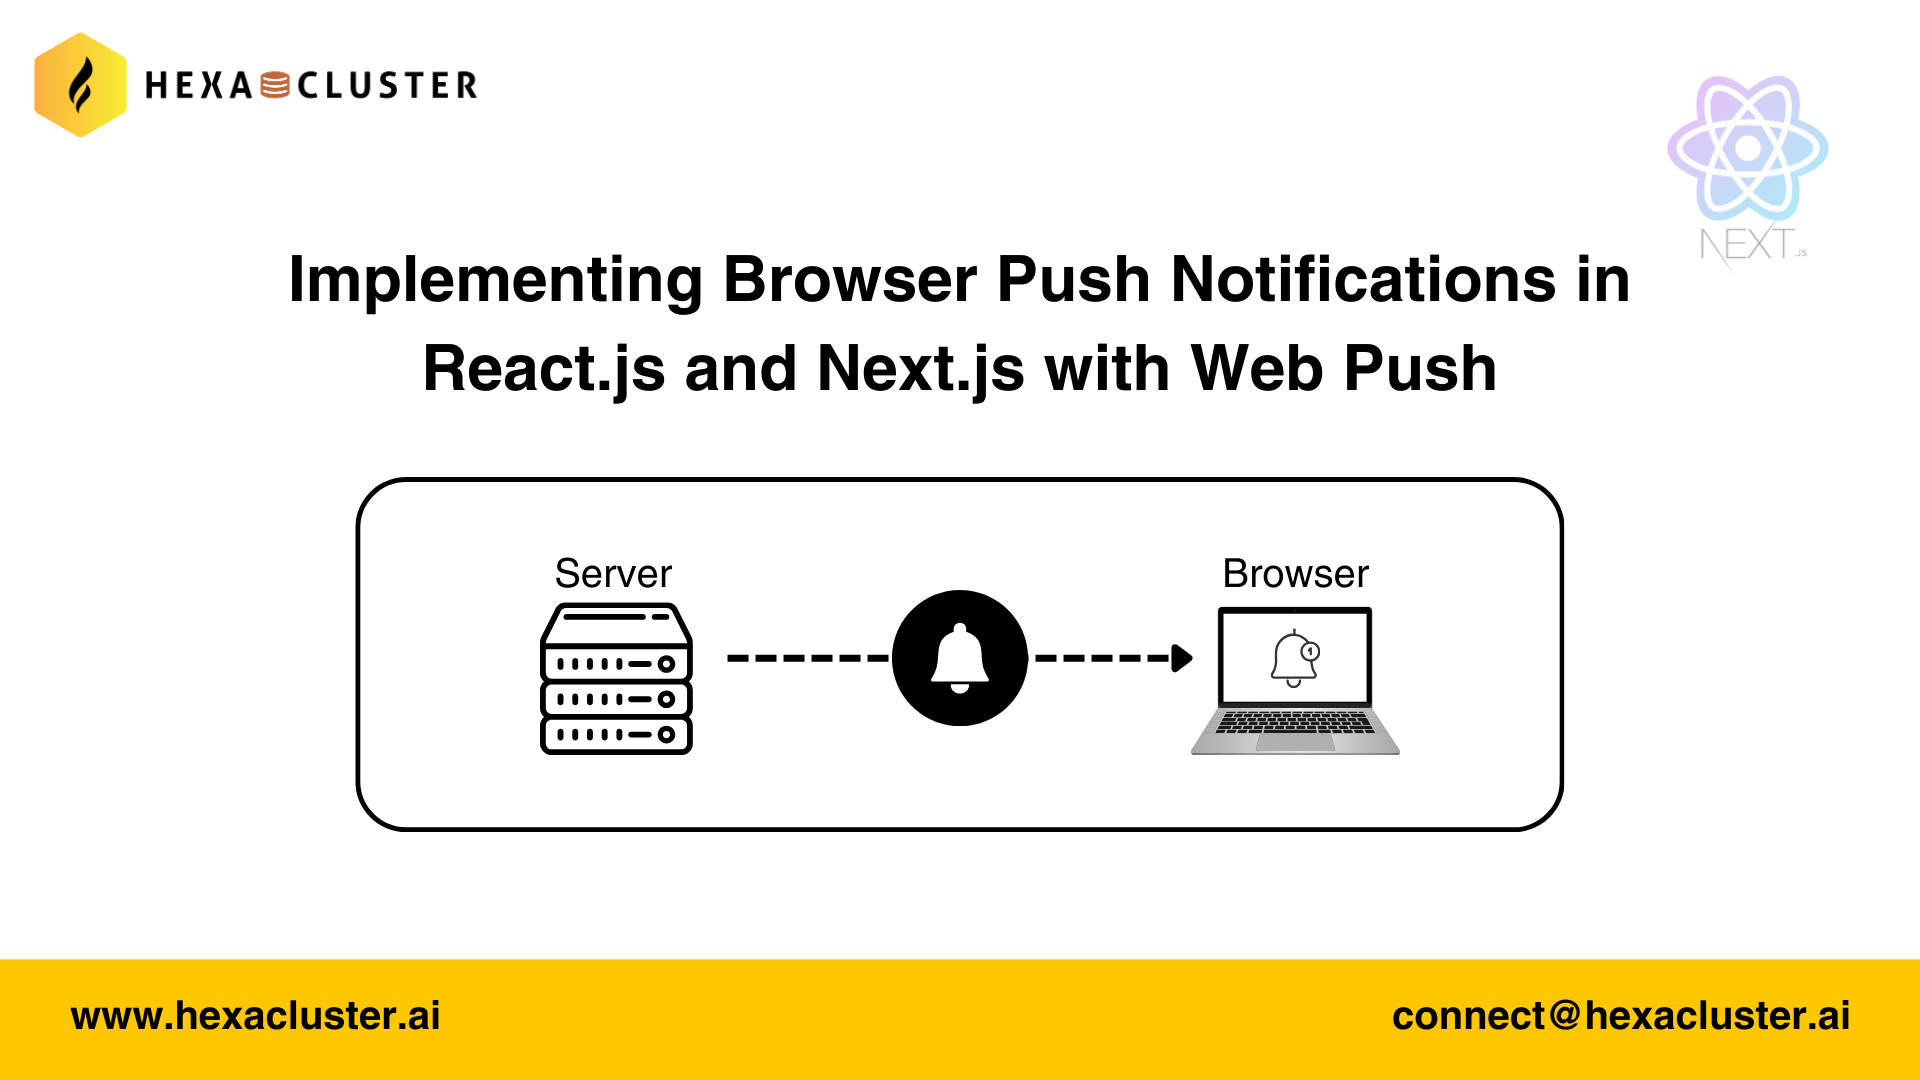
Before that we will learn about the basics. i.e. Notification API
Notification API
The Notification API is a browser-provided Web API that allows web application to display system-level notifications to users. These notifications are handled by the operating system, not the web page itself, which means they can appear outside the browser UI.
The Notification API is only responsible for displaying notifications. It does not send messages from a server or work in the background by itself. For background delivery, it must be combined with Service Workers and the Push API, which we’ll cover later in this article.
How to Request Permission
Before a website can show any notification, it must explicitly ask the user for permission. Browsers enforce this to protect users from spam and abuse.
const permission = await Notification.requestPermission();

console.log(permission); // "denied" or "granted" or "default"
The requestPermission() method returns one of three values:
"granted" → The user has allowed notifications"denied" → The user has blocked notifications"default" → The user dismissed the permission prompt without making a choicePush new Notification
Once permission is granted, you can create and display a notification using the Notification constructor.
// Push a Notification
const button = document.getElementById("button");
button.addEventListener("click", async () => {
  const permission = await Notification.requestPermission();
  if (permission === "denied") {
    alert("Permission denied");
    return;
  }
  new Notification("Hello world!");
});
In this example:
This approach is useful for simple, in-page alerts, but it does not support background notifications.
Other Options to push notifications
The Notification API supports several options to enhance the user experience.
You can also add notification body
You can include additional text using the body option to provide more context.
new Notification("Hello From Uday!",{
    body: "This is a new notification",
});
show notification with icon
Icons help users quickly recognize the source of the notification.
new Notification("Hello From Uday!", {
  body: "This is a new notification",
  icon: "https://udaykiran.dev/assets/uday.jpeg",
});
Prevent Duplicate Notifications
You can prevent multiple notifications from stacking by using the tag property.
If a notification with the same tag already exists, the browser replaces it instead of creating a new one. This is useful for status updates or progress notifications.
new Notification("Hello From Uday!", {
    body: "This is a new notification",
    icon: "https://udaykiran.dev/assets/uday.jpeg",
    tag: "unique-tag",
  });
Listen to events on Notification
Notifications support events such as click and close, allowing you to respond to user interactions.
const notification = new Notification("Hello From Uday!", {
  body: "This is a new notification",
  icon: "https://udaykiran.dev/assets/uday.jpeg",
  data: {
    name: "Uday",
  },
});

notification.addEventListener("click", () => {
  alert("Notification clicked");
});
// access the notification data
alert(notification.data?.name);
Here:
data property allows you to attach custom metadataclose notification automatically
By default, notifications are closed by the browser or the user. However, you can programmatically close them after a certain time.
const notification = new Notification("Hello From Uday!", {
  body: "This is a new notification",
  icon: "https://udaykiran.dev/assets/uday.jpeg",
});
setTimeout(() => {
  notification.close();
}, 500);
Notifications created using the Notification API only work while the page is open. To send notifications when the website is closed, we need Service Workers and the Push API, which we’ll explore next.
Push notifications in web applications involve a combination of browser APIs, Service Workers, and a server that can send push messages to subscribed users.
Once a user subscribes to push notifications, the browser creates a secure communication channel between the application server and the user’s device. Even if the website is not currently open, the server can still deliver messages through the browser’s push service.
If the browser is offline, the push message is queued by the push service and delivered as soon as the browser comes back online. Users can choose whether or not to receive push notifications from a website, and they can revoke this permission at any time.
Service worker
Service worker is a script that runs in the background of a web application, separate from the web page. It enables features like background sync, push notifications, and caching.
For push notifications, the service worker acts as the bridge between the push message and the Notification API.
The service worker listens for incoming push messages using the push event. When a push message is received, the service worker extracts the payload and displays a notification using the Notification API.
// public/sw.js
self.addEventListener("push", (event) => {
  const data = event.data.json();
  const title = data.title;
  const body = data.body;
  const icon = data.icon;
  const url = data.data.url;

  const notificationOptions = {
    body: body,
    tag: "unique-tag", // Use a unique tag to prevent duplicate notifications
    icon: icon,
    data: {
      url: url, // we can store some data for future use (url is used to navigate / open this url in the browser upon clicking on the notification)
    },
  };

  self.registration.showNotification(title, notificationOptions);
});
push event is triggered when the browser receives a push message from the serverevent.data.json()showNotification() displays the notification using the Notification APIdata object is attached to the notification for later use (for example, redirecting the user when the notification is clicked)Before the browser can receive push messages, the service worker must be registered from the client-side code.
// app/page.js -> Next.js
// src/index.js -> React

useEffect(() => {
  if ("serviceWorker" in navigator) {
    navigator.serviceWorker
      .register("/sw.js")
      .then((registration) => {
        console.log("Registration successful");
      })
      .catch((error) => {
        console.log("Service worker registration failed");
      });
  }
}, []);
Push notifications cannot be sent directly from the browser. They must originate from a server that uses the Web Push protocol.
pnpm i web-push
The web-push library handles:
VAPID keys are used to identify your application server and authenticate push requests.
npx web-push generate-vapid-keys
This command generates:
Below is a simple Express server that:
// server.js

import express from "express";
import webpush from "web-push";
import dotenv from "dotenv";
dotenv.config();

const app = express();

const vapidKeys = {
	publicKey: process.env.VAPID_PUBLIC_KEY,
	privateKey: process.env.VAPID_PRIVATE_KEY,
};

webpush.setVapidDetails(
	"mailto:connect@hexacluster.ai", // for identifying your server
  vapidKeys.publicKey,
  vapidKeys.privateKey
);

const subscriptions = [];
mailto:connect@hexacluster.ai is the VAPID subject, used to identify your serverapp.post("/subscribe",(req, res) => {
const subscription = req.body;
// storing in array
subscriptions.push(subscription);
res.status(201).json({status:"success" });
});
This endpoint:
| 🔹 HexaRocket Insight |
|---|
| By the way, if you’re into databases and database migrations, check out our robust tool, HexaRocket, an advanced, unified database migration and replication engine by HexaCluster that streamlines data movement across databases. |
app.post("/send-notification", async (req, res) => {
  const notificationPayload = {
    title: "New Notification",
    body: "This is a new notification",
    icon: "https://udaykiran.dev/assets/uday.jpeg",
    data: {
      url: "https://example.com",
    },
  };

  try {
    const sendPromises = subscriptions.map((subscription, index) =>
      webpush
        .sendNotification(
          subscription,
          JSON.stringify(notificationPayload)
        )
        .catch((error) => {
          // 🔴 Subscription is no longer valid
          if (error.statusCode === 410 || error.statusCode === 404) {
            console.log("Removing expired subscription");

            // Remove invalid subscription from DB / memory
            subscriptions.splice(index, 1);
          } else {
            console.error("Push error:", error);
          }
        })
    );

    await Promise.all(sendPromises);

    res.status(200).json({
      message: "Notification sent successfully.",
    });
  } catch (err) {
    console.error("Error sending notifications", err);
    res.sendStatus(500);
  }
});
To receive push notifications, a user must explicitly subscribe to them. This process happens entirely in the browser
Browsers require user permission before showing notifications.
const permission = await Notification.requestPermission();
if (permission !== "granted")return;
After permission is granted and the service worker is ready, create a subscription using PushManager.
const registration = await navigator.serviceWorker.ready;

const subscription = await registration.pushManager.subscribe({
	userVisibleOnly : true,
	applicationServerKey : process.env.NEXT_PUBLIC_VAPID_PUBLIC_KEY,
});
This subscription contains:
The server must store this subscription to send notifications later.
await fetch("http://localhost:4000/subscribe", {
	method: "POST",
	headers: { "Content-Type" : "application/json" },
	body: JSON.stringify(subscription),
});
"use client"

async function subscribeToPush() {
  if (!("serviceWorker" in navigator)) return;

  const permission = await Notification.requestPermission();
  if (permission !== "granted") return;

  const registration = await navigator.serviceWorker.ready;
	// assuming service worker registration is already done
	// if not un comment below line
	// await navigator.serviceWorker.register("/sw.js")

  const subscription = await registration.pushManager.subscribe({
    userVisibleOnly: true,
    applicationServerKey: process.env.NEXT_PUBLIC_VAPID_PUBLIC_KEY,
  });
  // send subscription to backend to store
  await fetch("http://localhost:4000/subscribe", {
    method: "POST",
    headers: { "Content-Type": "application/json" },
    body: JSON.stringify(subscription),
  });
}
Now that we've covered subscribing to push notifications, let's look at how to handle user interactions with notifications and manage subscriptions effectively.
When users click on a notification, you'll typically want to:
Here's a complete implementation:
// public/sw.js

self.addEventListener("notificationclick", (event) => {
  const urlToOpen = event.notification.data?.url;
  event.notification.close(); // Close the notification
ams
  self.event.waitUntil(
    clients.matchAll({
      type: "window",
      includeUncontrolled: true
    }).then((clientList) => {
      // Check if a window with this URL is already open
      for (const client of clientList) {
        if (client.url === urlToOpen && "focus" in client) {
          return client.focus(); // Focus existing tab
        }
      }
      // If no matching window found, open a new one
      return self.clients.openWindow(urlToOpen);
    })
  );
});
Why this approach is better:
Users should always have the option to opt-out of notifications:
async function unsubscribeFromPush() {
  const registration = await navigator.serviceWorker.ready;
  const subscription = await registration.pushManager.getSubscription();

  if (subscription) {
    await subscription.unsubscribe();

    // Notify your server to remove the subscription
    await fetch("<http://localhost:4000/unsubscribe>", {
      method: "POST",
      headers: { "Content-Type": "application/json" },
      body: JSON.stringify({ endpoint: subscription.endpoint }),
    });

    console.log("Successfully unsubscribed");
  }
}
Server-side cleanup:
app.post("/unsubscribe", (req, res) => {
  const { endpoint } = req.body;

  // Remove from database
  const index = subscriptions.findIndex(sub => sub.endpoint === endpoint);
  if (index !== -1) {
    subscriptions.splice(index, 1);
  }

  res.status(200).json({ status: "unsubscribed" });
});
Don't store subscriptions in memory! Use a database for production:
// Example with MongoDB/Mongoose

const SubscriptionSchema = new mongoose.Schema({
  endpoint: { type: String, required: true, unique: true },
  keys: {
    p256dh: String,
    auth: String
  },
  userId: String, // Associate with your user
  createdAt: { type: Date, default: Date.now }
});

// Save subscription
app.post("/subscribe", async (req, res) => {
  const { endpoint, keys } = req.body;

  try {
    await Subscription.findOneAndUpdate(
      { endpoint },
      { endpoint, keys, userId: req.user.id },
      { upsert: true }
    );
    res.status(201).json({ status: "success" });
  } catch (error) {
    res.status(500).json({ error: "Failed to save subscription" });
  }
});
| 🔹 HexaRocket Recommendation |
|---|
| Here, we’ve used a MongoDB schema as a simple example, you’re free to choose any database that fits your use case. If you have a legacy database and want to migrate to open-source databases, check out our robust tool HexaRocket an advanced migration and replication engine that enables seamless data transfer across different database technologies. |
Browser subscriptions can expire. Your server must handle this gracefully:
app.post("/send-notification", async (req, res) => {
  const subscriptions = await Subscription.find({});

  const results = await Promise.allSettled(
    subscriptions.map(async (sub) => {
      try {
        await webpush.sendNotification(
          { endpoint: sub.endpoint, keys: sub.keys },
          JSON.stringify(notificationPayload)
        );
      } catch (error) {
        // Subscription is invalid or expired
        if (error.statusCode === 410 || error.statusCode === 404) {
          // Remove from database
          await Subscription.deleteOne({ endpoint: sub.endpoint });
          console.log(`Removed expired subscription: ${sub.endpoint}`);
        }
        throw error;
      }
    })
  );

  res.json({ sent: results.filter(r => r.status === 'fulfilled').length });
});
Allow users to see if they're currently subscribed:
async function getSubscriptionStatus() {
  if (!("serviceWorker" in navigator)) return false;

  const registration = await navigator.serviceWorker.ready;
  const subscription = await registration.pushManager.getSubscription();

  return subscription !== null;
}

// Usage in React/Next.js
const [isSubscribed, setIsSubscribed] = useState(false);

useEffect(() => {
  getSubscriptionStatus().then(setIsSubscribed);
}, []);
Add action buttons to notifications for richer interactions:
// public/sw.js

self.addEventListener("push", (event) => {
  const data = event.data.json();

  const options = {
    body: data.body,
    icon: data.icon,
    actions: [
      { action: "view", title: "View" },
      { action: "dismiss", title: "Dismiss" }
    ],
    data: data.data
  };

  event.waitUntil(
    self.registration.showNotification(data.title, options)
  );
});

// Handle action clicks
self.addEventListener("notificationclick", (event) => {
  event.notification.close();

  if (event.action === "view") {
    event.waitUntil(clients.openWindow(event.notification.data.url));
  } else if (event.action === "dismiss") {
    // Just close, no action needed
  }
});
Sometimes you want to receive a push without showing a notification:
// public/sw.js

self.addEventListener("push", (event) => {
  const data = event.data.json();

  if (data.silent) {
    // Perform background task without showing notification
    event.waitUntil(
      fetch("/api/sync", {
        method: "POST",
        body: JSON.stringify({ type: "background-sync" })
      })
    );
  } else {
    // Show notification
    self.registration.showNotification(data.title, {
      body: data.body
    });
  }
});
⚠️ Warning: Browsers may require you to show at least one notification per push to prevent abuse.
❌ Don't do this:
// Asking immediately on page load
useEffect(() => {
  Notification.requestPermission();
}, []);
✅ Do this instead:
// Ask in context, with explanation
<button onClick={handleSubscribe}>
  Get notified when new posts arrive
</button>

async function handleSubscribe() {
  // Show a modal explaining benefits first
  const userWantsNotifications = await showExplanationModal();

  if (userWantsNotifications) {
    const permission = await Notification.requestPermission();
    if (permission === "granted") {
      await subscribeToPush();
    }
  }
}
Service workers are cached aggressively. Force updates:
// Update service worker when new version is available
useEffect(() => {
  if ("serviceWorker" in navigator) {
    navigator.serviceWorker.register("/sw.js").then((registration) => {
      // Check for updates every hour
      setInterval(() => {
        registration.update();
      }, 3600000);

      // Listen for new service worker
      registration.addEventListener("updatefound", () => {
        const newWorker = registration.installing;
        newWorker.addEventListener("statechange", () => {
          if (newWorker.state === "installed" && navigator.serviceWorker.controller) {
            // New service worker available
            if (confirm("New version available! Reload to update?")) {
              window.location.reload();
            }
          }
        });
      });
    });
  }
}, []);
Push notifications are a powerful way to re-engage users and deliver timely updates. In this guide, we covered:
✅ The Notification API and basic browser notifications
✅ Service Workers and the Push API
✅ VAPID authentication and server setup
✅ Complete client and server implementation
✅ Production considerations and best practices
Interested in learning about micro frontends and Module Federation? Read this blog post: https://hexacluster.ai/blog/getting-started-with-micro-frontends-and-module-federation
Key Takeaways:
Next Steps:
We’ve implemented push notifications on our site, feel free to subscribe to stay updated when we publish new blogs and features 😌
HexaCluster provides end-to-end migration and modernization services, including application migration and modernization, database migration, and PostgreSQL consulting such as performance tuning, health audits, managed DBA services, and 24/7/265 support.
To start a conversation or explore how we can support your migration journey, please contact us at connect@hexacluster.ai

Udaykiran is a Software Developer at HexaCluster with 1.5+ years of experience building fast, scalable web applications. He works across the full stack, crafting modern frontends using Next.js, React, TypeScript, and micro-frontends, and powering them with robust backend services built with Node.js, Spring Boot, and Golang. With hands-on experience in microservices architecture, he builds modular, production-ready systems end to end.
Start your migration journey 🚀
start your migration journey with our expert team
Database & Application Migration Assessment Tool
End-to-End Database Migration & Modernization Tool
Database Code Object Conversion to PostgreSQL
MyBatis Mapper Conversion to PostgreSQL
Enterprise Data Replication & Live CDC
Oracle Compatibility Layer for PostgreSQL